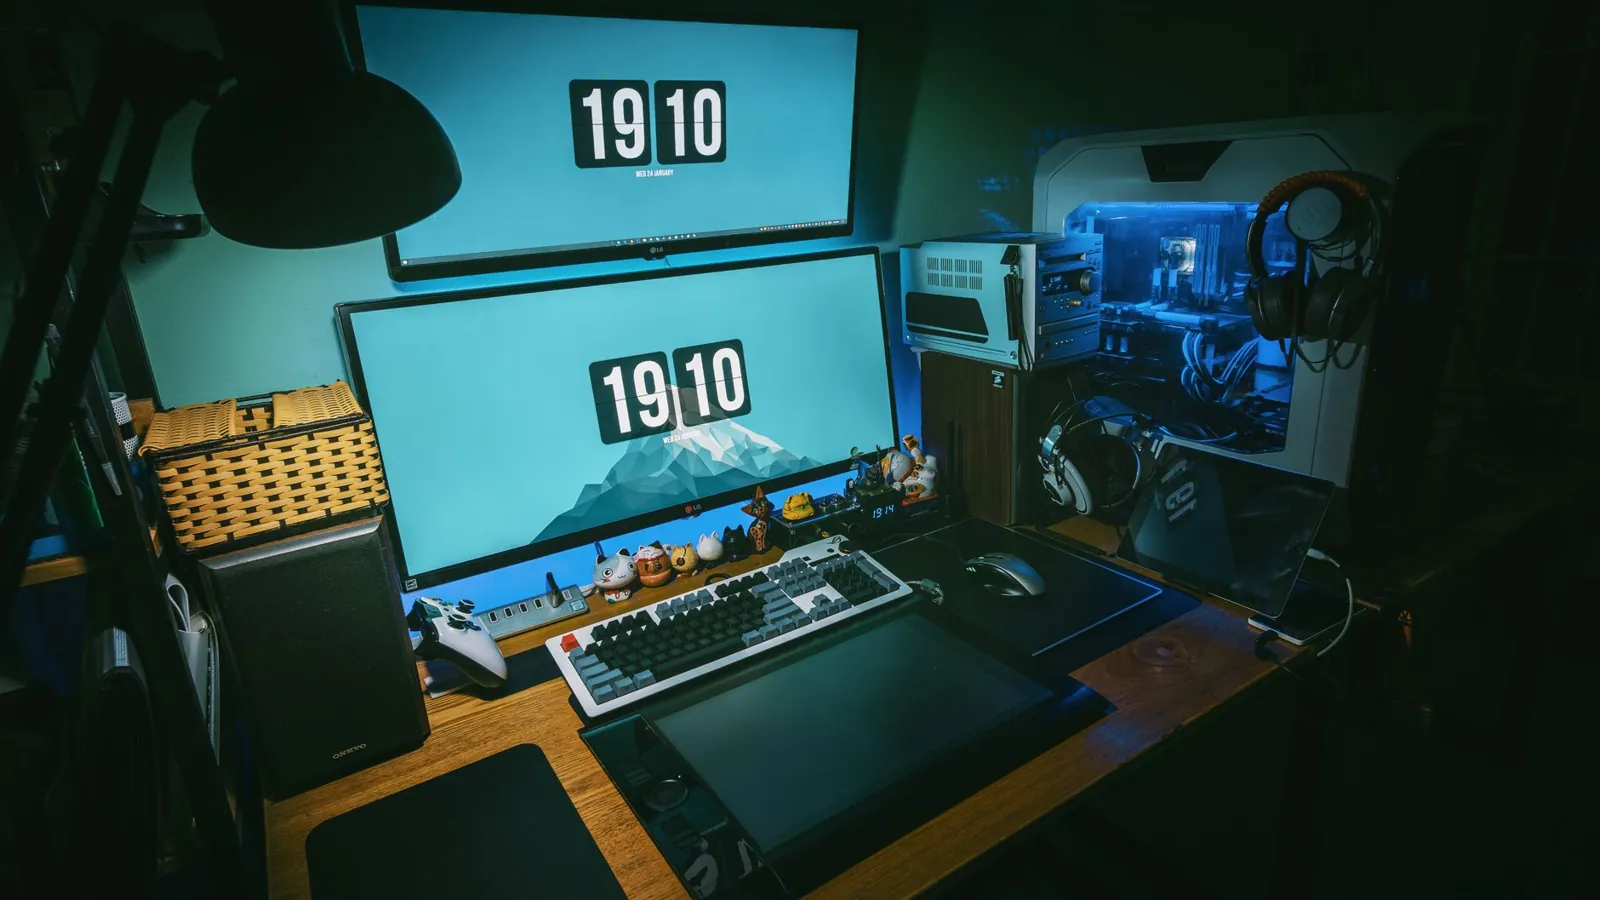
How to Set Up a Gaming Monitor: Stand, Cables, Mount
Get your gaming monitor from box to optimized picture in under an hour. Stand setup, cable routing, refresh rate fixes, and safe wall mounting, step by step.
# How to Set Up a Gaming Monitor: Stand, Cables, Settings, and Mounting
That brand new 27-inch monitor is still sitting on the floor in its box. You've got a desk, a PC, and a vague plan. What you don't have is a picture that looks better than the TV in the living room.
Here's the good news: a proper [gaming setup](/blog/how-to-choose-a-gaming-monitor-in-2026-refresh-rate-resolution-panel-guide) takes about 45 minutes if you have the tools, and most people get it wrong in the same three places. They leave the monitor on the stock stand at eye-level with their knees, they run one cable and wonder why they're capped at 60Hz, and they never touch the OSD menu. We'll fix all of that. By the end of this guide, you'll have the monitor mounted or standing correctly, cables routed so they don't look like spaghetti, and a picture that actually uses the panel you paid for.
This is the whole how to [gaming setup](/blog/the-manchester-city-verdict-what-it-means-for-premier-league-fans) process, box to optimized picture, in eight steps you can knock out in one sitting.
## What you'll need
- **Monitor and its accessories:** power brick, DisplayPort or HDMI cable (check the box, some ship with DP 1.4, some ship with nothing useful), stand or VESA mount hardware.
- **Tools:** Phillips head screwdriver, a tape measure, a drill and stud finder if you're wall mounting, cable ties or velcro straps.
- **A second person** for wall mounting. Do not attempt a 32-inch panel solo.
- **Budget:** $0 if you're using the stock stand. $30 to $80 for a desk arm. $25 to $60 for a wall mount. A stud finder runs about $15.
- **Time:** 30 to 45 minutes on a desk, 60 to 90 minutes for a wall mount.
- **Your GPU's spec sheet** so you know which ports support which refresh rate.
## Step-by-step
### Step 1. Unbox and check the panel before you build anything
Confirm the screen survived shipping before you invest an hour in mounting it.
Plug the monitor into power and your PC with whatever cable is in the box, turn it on, and look for dead pixels, backlight bleed in the corners, and any cracks. Do this on a dark grey screen (search "dead pixel test" and run the full-screen color test). If something's wrong, you want to be filing a return, not drilling holes.
**Watch out:** Retailers in the US and UK typically give you 14 to 30 days for a no-questions return, but once you've mounted it, some will argue you damaged it. Test first.
### Step 2. Measure your desk and pick your mounting option
Decide between the stock stand, a desk arm, or a wall mount before you touch a screwdriver.
Here are your three real options and what each costs:
| Option | Cost (USD) | Best for |
|---|---|---|
| Stock stand | $0 | Single monitor, deep desk |
| Desk arm (clamp or grommet) | $30 to $80 | Clean desk, adjustable height, dual monitors |
| Wall mount (VESA) | $25 to $60 plus stud finder | Freeing desk space, small rooms, permanent setups |
Measure your desk depth. If it's under 60cm (24 inches), a stock stand will push the screen too close to your face. A clamp arm or wall mount solves that.
**Tip:** Check your monitor's VESA pattern before buying anything. Most 24 to 32 inch panels use 100x100mm, but some budget models use 75x75mm and a few use neither.
### Step 3. Attach the stand or VESA plate
Get the monitor onto its base or adapter plate so it's stable and ready to position.
Lay the monitor face-down on a soft towel. Line up the stand neck or VESA plate with the screw holes on the back, and hand-tighten the four screws in a diagonal pattern (top-left, bottom-right, top-right, bottom-left) so the plate seats evenly. Snug is enough. Over-tightening cracks plastic housings.
**Watch out:** If the monitor wobbles after assembly, one screw is cross-threaded. Back them all out and start again.
### Step 4. Position the screen at the right height and distance
Set the monitor so your eyes hit the top third of the screen when you sit up straight.
Sit down at your normal posture. The top bezel should be roughly level with your eyes, maybe a touch below. Your viewing distance should be about an arm's length, 60 to 80cm (24 to 32 inches). Tilt the panel back 5 to 10 degrees. If you're on a stock stand, this is where you discover whether it has height adjustment. Many budget stands don't, which is exactly why people end up stacking books under them.
**Tip:** If your monitor sits too low and the stand won't adjust, a $30 desk arm is cheaper than a new desk and fixes the problem permanently.
### Step 5. Route the cables
Run power and video cables so they're out of sight and out of the way of your mouse hand.
Unplug everything first. Run the DisplayPort or HDMI cable from the monitor down the back of the stand or arm, then along the underside of the desk with velcro straps every 20 to 30cm. Keep power and video cables separated by a few centimeters where you can, since cheap shielded cables can pick up interference. Leave a small service loop (about 15cm of slack) at the monitor end so you can swivel it without yanking the connector.
**Watch out:** If your screen flickers or drops signal intermittently, a strained or bent cable is the usual culprit. Reseat both ends before you blame the GPU.
### Step 6. Connect to the right port and confirm the refresh rate
Make sure your PC is actually outputting the resolution and refresh rate the monitor supports.
Use DisplayPort if your monitor and GPU both have it, especially for 144Hz and above. HDMI 2.1 handles high refresh rates fine on newer cards, but older HDMI ports cap out at 60Hz. Once connected, right-click the desktop, open Display Settings, and click Advanced Display Settings. Confirm the refresh rate matches your panel (144Hz, 165Hz, 240Hz). On Windows, some monitors default to 60Hz until you change it manually.
**Tip:** If the refresh rate dropdown won't go above 60Hz, you're probably on the wrong cable or the wrong port. Check the GPU manual for which output is the fast one.
### Step 7. Tune the picture in the monitor's own menu
Get the panel into a calibrated mode instead of leaving it on the factory "vivid" preset.
Use the joystick or buttons on the monitor (not Windows settings) to open the OSD. Switch the picture mode to Standard or sRGB. Turn off dynamic contrast and any "game mode" that pumps saturation. Set brightness to around 120 nits for a normal room, or 200 to 250 if you game in daylight. Enable FreeSync or G-Sync if your monitor supports it and your GPU matches. Then enable HDR in Windows only if the panel is genuinely HDR-capable (DisplayHDR 600 or better). On cheap HDR400 panels, leave it off, it looks worse.
**Watch out:** If colors look washed out after calibration, you may have set the monitor to Limited RGB range. Switch it to Full in both the OSD and the GPU control panel.
### Step 8. Wall mount it (only if you chose that route)
Get the monitor off the desk and onto a stud, safely.
Hold the mount bracket against the wall at your target height and mark the holes. Use a stud finder to locate a stud, or use the supplied toggle anchors if there isn't one where you need it. Drill pilot holes, screw the bracket in, then lift the monitor with a second person and hook the VESA plate onto the bracket. Tighten the safety screws. Tug gently downward to confirm it's seated.
**Watch out:** Drywall anchors rated for 30kg are fine for a 6kg monitor, but never mount into plasterboard alone without anchors. If the mount flexes when you push the screen, stop and re-check the fixings.
## Our take
Skip the stock stand if your desk is shallow or your monitor lacks height adjustment. A **North Bayou** or **Ergotron LX** desk arm runs $30 to $130 and transforms the setup more than any other purchase at that price. For wall mounting, **VIVO** and **Mounting Dream** brackets are cheap, rated well, and come with the anchors you need. On the cable side, buy a certified **DisplayPort 1.4** cable rather than trusting the one in the box. It's $10 and removes a whole category of "why is my screen black" headaches.
## Common problems and fixes
- **Screen stays black after connecting.** Check the input source in the OSD, reseat both cable ends, and try a different port. Nine times out of ten it's the source setting.
- **Stuck at 60Hz.** You're on HDMI on an older GPU, or the cable is a low-bandwidth one. Switch to DisplayPort and confirm in Advanced Display Settings.
- **Monitor wobbles or tilts on its own.** The stand screw is loose or the VESA plate isn't seated. Re-tighten in a diagonal pattern.
- **Colors look off after setup.** Set RGB range to Full in both the monitor menu and the GPU control panel. Also check you're not in a cinema or vivid preset.
- **Wall mount feels loose.** The bracket isn't on a stud or the anchors are undersized. Re-mount with proper fixings before trusting it.
## What to do next
Once the picture is dialed in, spend 10 minutes in your GPU control panel (NVIDIA Control Panel or AMD Software) to set a custom color profile and confirm G-Sync or FreeSync is actually active. Then sort your desk: a cheap under-desk cable tray and a few velcro straps finish the job. If you're building out a streaming setup next, the same cable discipline applies to your mic and capture card, and it's worth doing now rather than later.
## FAQ
**Do I need a desk arm or can I just use the stand?**
Use the stand if it has height adjustment and your desk is deep enough. Otherwise a $30 clamp arm is the single best upgrade you can make.
**How do I know if my monitor supports wall mounting?**
Look for a VESA pattern on the back (usually 100x100mm or 75x75mm). If there are no threaded holes, it doesn't support mounting without an adapter.
**Why is my monitor capped at 60Hz?**
Usually the cable or the port. Switch to DisplayPort, then confirm the refresh rate in Windows Advanced Display Settings.
Frequently asked questions
Do I need a desk arm or can I just use the stand?
Use the stand if it has height adjustment and your desk is deep enough. Otherwise a $30 clamp arm is the single best upgrade you can make.
How do I know if my monitor supports wall mounting?
Look for a VESA pattern on the back (usually 100x100mm or 75x75mm). If there are no threaded holes, it doesn't support mounting without an adapter.
Why is my monitor capped at 60Hz?
Usually the cable or the port. Switch to DisplayPort, then confirm the refresh rate in Windows Advanced Display Settings.
 GamesNFans